
Part 1 - VM Template Creation and Preparation
Download the latest copy of Debian's NetInstall ISO image from here.
For this article, we'll be using https://cdimage.debian.org/debian-cd/current/amd64/iso-cd/debian-11.2.0-amd64-netinst.iso
Upload/Save the file to your ISO Datastore.
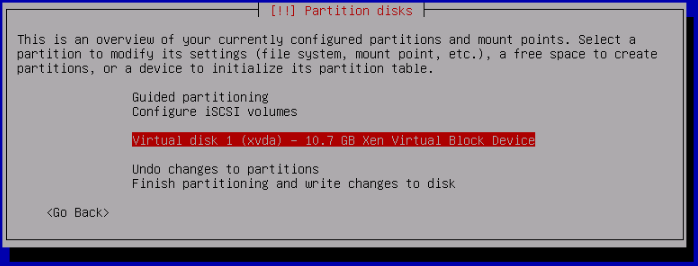
Deploy a New VM from Xen Orchestra and boot from the ISO we just downloaded.
Give it between 2-4CPU, and 2-4GB of RAM.
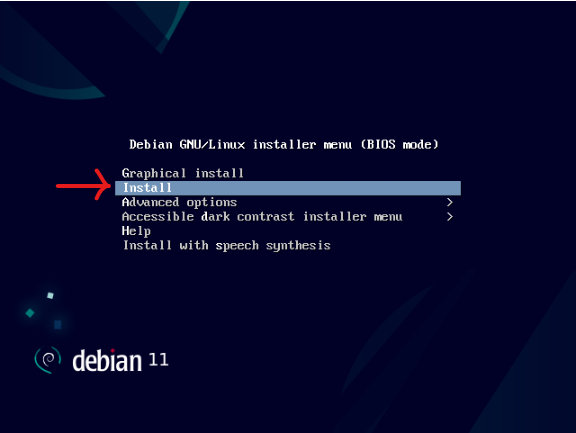
Navigate through the prompts and Select your language, location and keyboard layout (keymap).
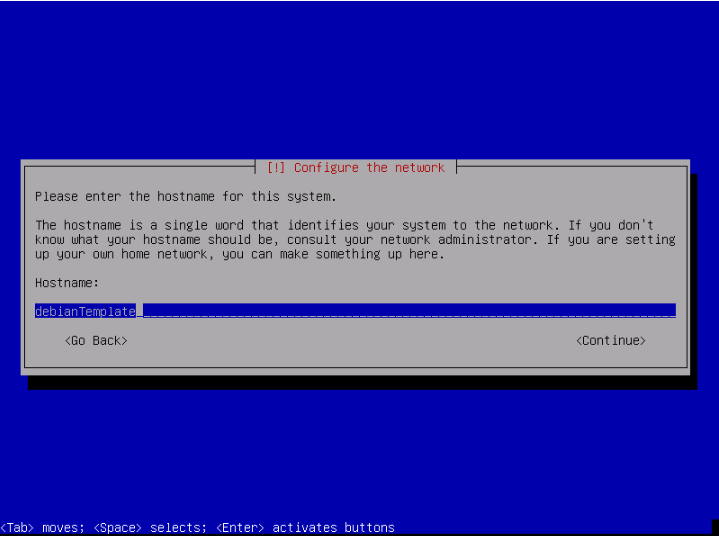
Skip adding a Domain name for now.
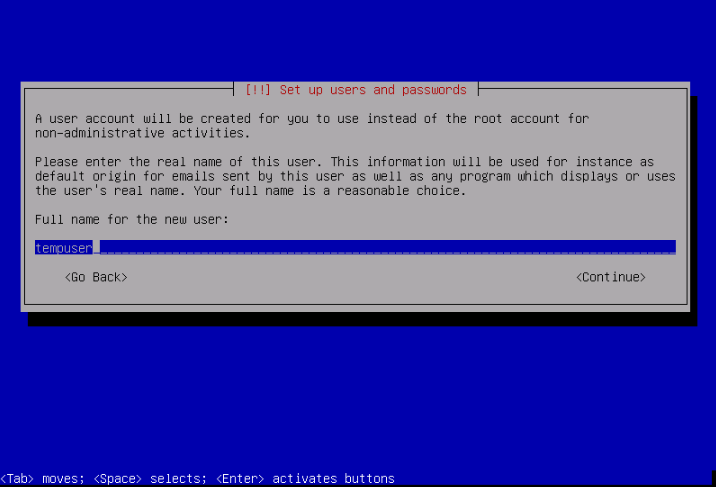
Skip creating a root password - we'll give the tempuser account below root access
Enter your TimeZone
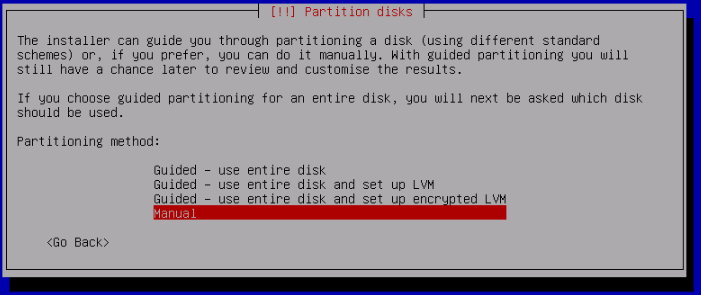


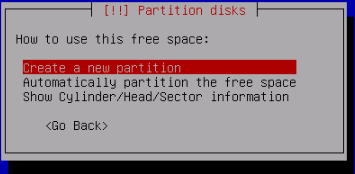
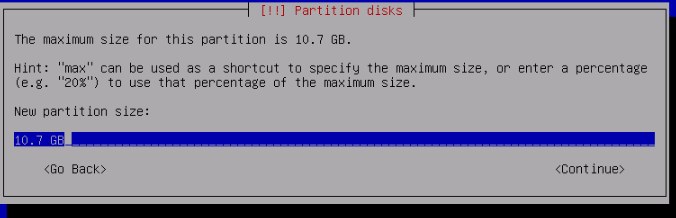
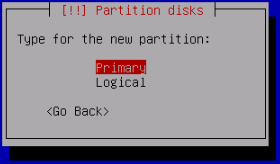
This will be a Primary partition:

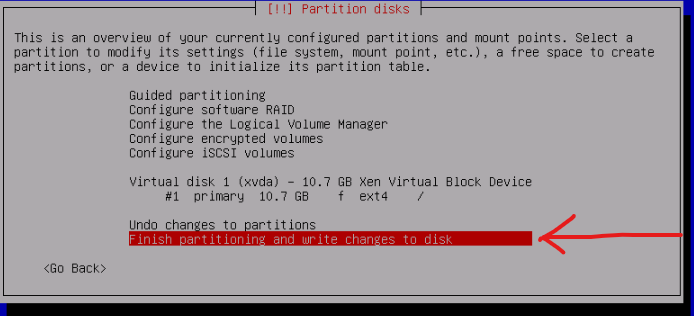
Do not add a swap space if prompted. I.E Do not return to the partition menu.
Select "Yes" when prompted with the summary to write the changes to the disk.
The Base System will install - this might take several minutes depending on your device.
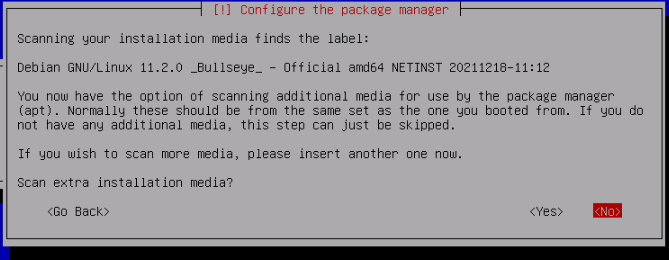
Select your country and Debian Mirror. You can press enter to skip HTTP proxy and select No to skip the package usage survey
Press the SpaceBar to unselect the "Debian Desktop Environment" and "GNOME" packages and enable the SSH server package and press enter to continue.


After this, the VM will want to reboot
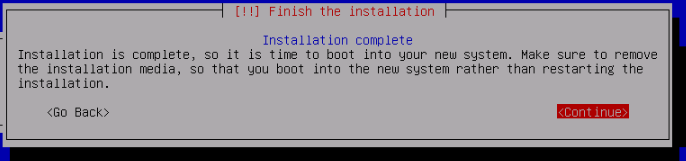
Press enter to reboot and eject the installation media.
This concludes Part 1.
Part 2 - Initial VM template Customisation
Once the VM has rebooted, Insert the Guest Tools ISO via Xen Orchestra.
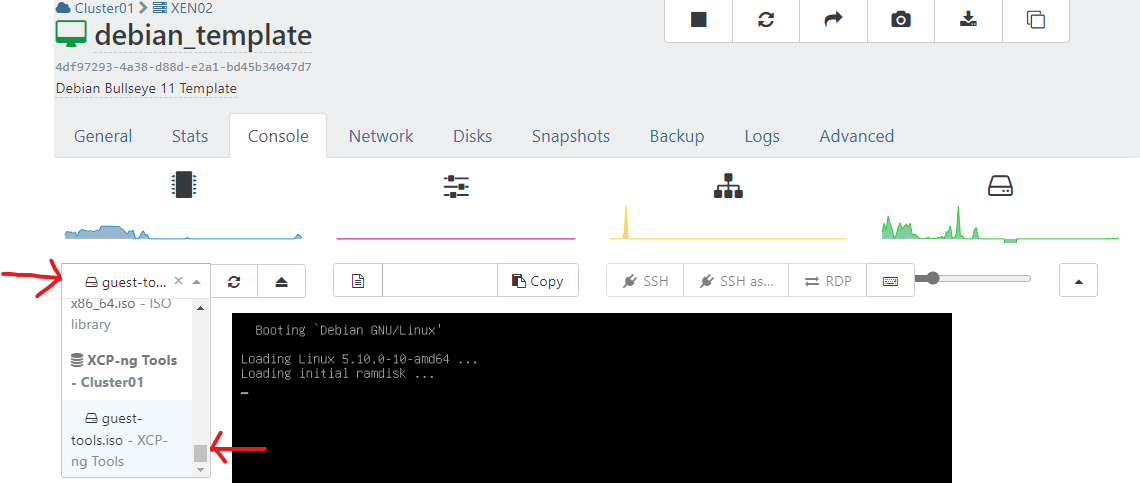
Sign in through the Xen Orchestra web UI console (or if you know the ip address of the VM, ssh to it) and install the Guest Tools with this single liner:
sudo mount /dev/cdrom /mnt && sudo bash /mnt/Linux/install.sh -n && sudo reboot now
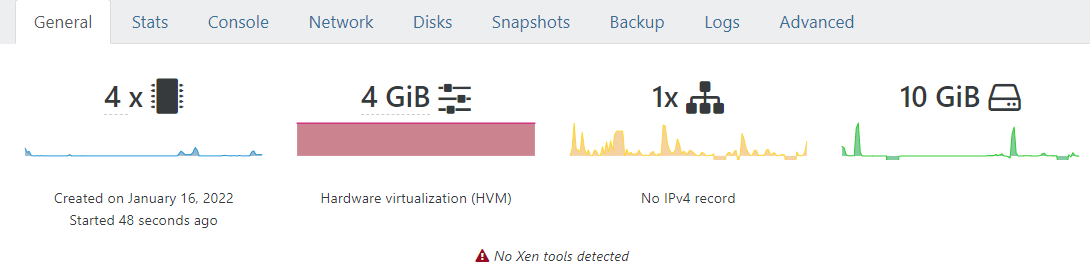
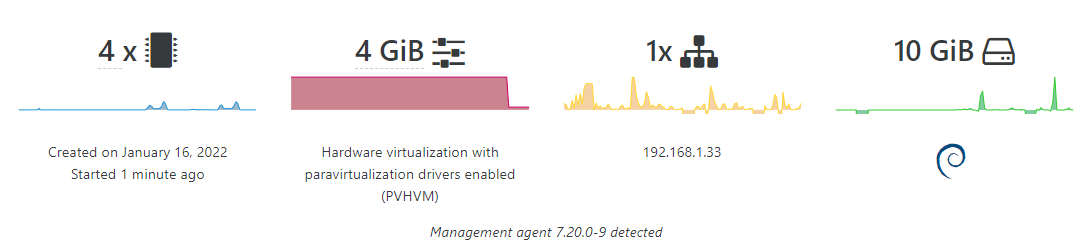
When the VM reboots, it should change from having "No Xen tools detected" and no IP address listed to showing the OS version, IP address and Management agent version
Now we know the IP address, we can ssh to it.

Run the following (each line is a new command):
sudo apt install cloud-utils
sudo apt install cloud-init
sudo apt install cloud-initramfs-growroot
cd /etc/cloud
sudo nano cloud.cfg
Delete everything in the default cloud.cfg file by pressing ctrl+k to remove lines from the file until it's empty. Copy the following into your clipboard and right click in nano to paste the contents:
Press CTRL+O to save, press enter to keep the same filename and then CTRL+X to quit.
Remove root access by running
sudo passwd -l rootFinal Step is to enable Cloudinit to take affect on next boot.
Run:
sudo systemctl enable cloud-initOnce this has completed, power off the VM and convert it to a template.